部署 MinIO 集群
在该指南中,你将学会如何使用 Helm Chart 在 Kubernetes 上部署 MinIO 集群。
前置依赖
配置管理
在安装之前,你需要创建一个 minio-values.yaml 配置文件。请根据你的 Kubernetes 环境调整以下配置:
global:
  security:
    allowInsecureImages: true

image:
  registry: greptime-registry.cn-hangzhou.cr.aliyuncs.com
  repository: greptime/minio
  tag: 2025.4.22-debian-12-r1

auth:
  rootUser: greptimedbadmin
  rootPassword: "greptimedbadmin"

resources:
  requests:
    cpu: 500m
    memory: 500Mi
  limits:
    cpu: '2'
    memory: 2Gi

extraEnvVars:
  - name: MINIO_REGION
    value: "ap-southeast-1"

statefulset:
  replicaCount: 4

mode: distributed

persistence:
  storageClass: null
  size: 100Gi
安装 MinIO 集群
在 minio 命名空间中安装 MinIO 集群:
helm upgrade \
  --install minio oci://greptime-registry.cn-hangzhou.cr.aliyuncs.com/charts/minio \
  --create-namespace \
  --version 16.0.10 \
  -n minio --values minio-values.yaml
预期输出
Release "minio" does not exist. Installing it now.
Pulled: greptime-registry.cn-hangzhou.cr.aliyuncs.com/charts/minio:16.0.10
Digest: sha256:96e220fd7cf1596879a243453b39c96a95d34f0005fdd452da3d094a7b386eb4
NAME: minio
LAST DEPLOYED: Tue May 12 17:21:30 2026
NAMESPACE: minio
STATUS: deployed
REVISION: 1
TEST SUITE: None
NOTES:
CHART NAME: minio
CHART VERSION: 16.0.10
APP VERSION: 2025.4.22

Did you know there are enterprise versions of the Bitnami catalog? For enhanced secure software supply chain features, unlimited pulls from Docker, LTS support, or application customization, see Bitnami Premium or Tanzu Application Catalog. See https://www.arrow.com/globalecs/na/vendors/bitnami for more information.

** Please be patient while the chart is being deployed **

MinIO® can be accessed via port  on the following DNS name from within your cluster:

minio.minio.svc.cluster.local

To get your credentials run:

export ROOT_USER=$(kubectl get secret --namespace minio minio -o jsonpath="{.data.root-user}" | base64 -d)
export ROOT_PASSWORD=$(kubectl get secret --namespace minio minio -o jsonpath="{.data.root-password}" | base64 -d)

To connect to your MinIO® server using a client:

- Run a MinIO® Client pod and append the desired command (e.g. 'admin info'):

  kubectl run --namespace minio minio-client \
  --rm --tty -i --restart='Never' \
  --env MINIO_SERVER_ROOT_USER=$ROOT_USER \
  --env MINIO_SERVER_ROOT_PASSWORD=$ROOT_PASSWORD \
  --env MINIO_SERVER_HOST=minio \
  --image docker.io/bitnami/minio-client:2025.4.16-debian-12-r1 -- admin info minio

To access the MinIO® web UI:

- Get the MinIO® URL:

  echo "MinIO® web URL: http://127.0.0.1:9001/minio"
  kubectl port-forward --namespace minio svc/minio 9001:9001

Substituted images detected:
- greptime-registry.cn-hangzhou.cr.aliyuncs.com/greptime/minio:2025.4.22-debian-12-r1
验证 MinIO 集群安装
检查 MinIO Pod 的状态:
kubectl get pod -n minio
预期输出
NAME      READY   STATUS    RESTARTS   AGE
minio-0   1/1     Running   0          30s
minio-1   1/1     Running   0          30s
minio-2   1/1     Running   0          30s
minio-3   1/1     Running   0          30s
创建 Bucket 和 Access Key
访问 MinIO 控制台
- 首先需要将 MinIO 控制台服务暴露出来,你可以使用
kubectl port-forward命令:
kubectl port-forward -n minio svc/minio 9001:9001
-
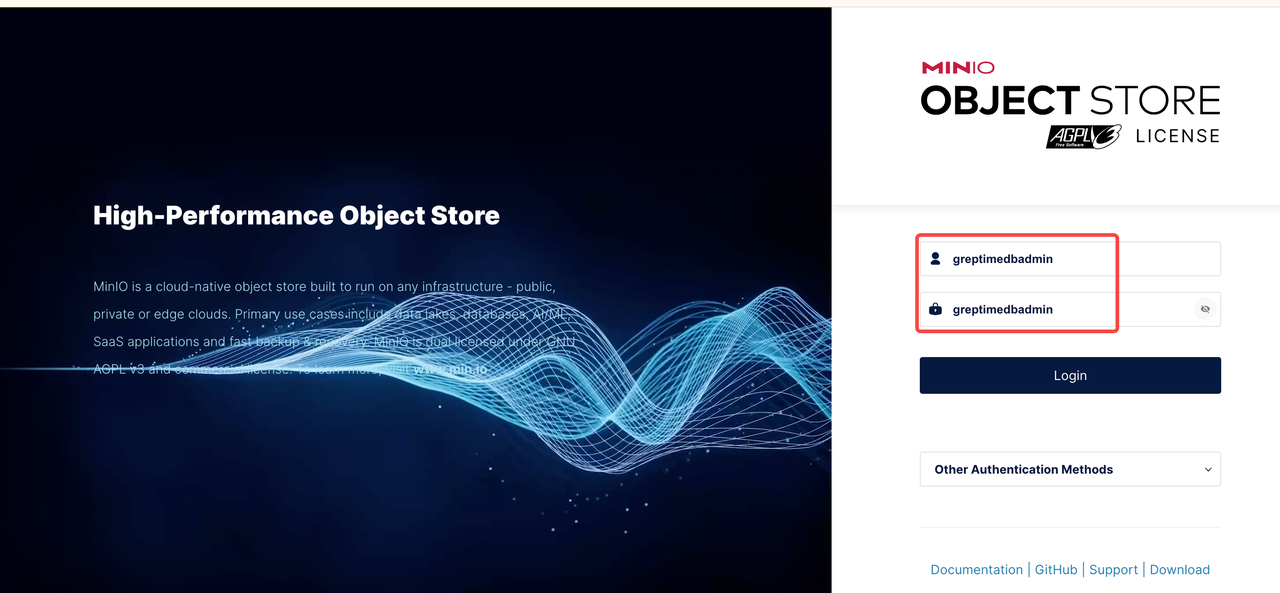
打开浏览器访问 http://localhost:9001/login
-
使用配置文件中设置的账号密码登录:
- username:
greptimedbadmin - password:
greptimedbadmin
创建 Bucket
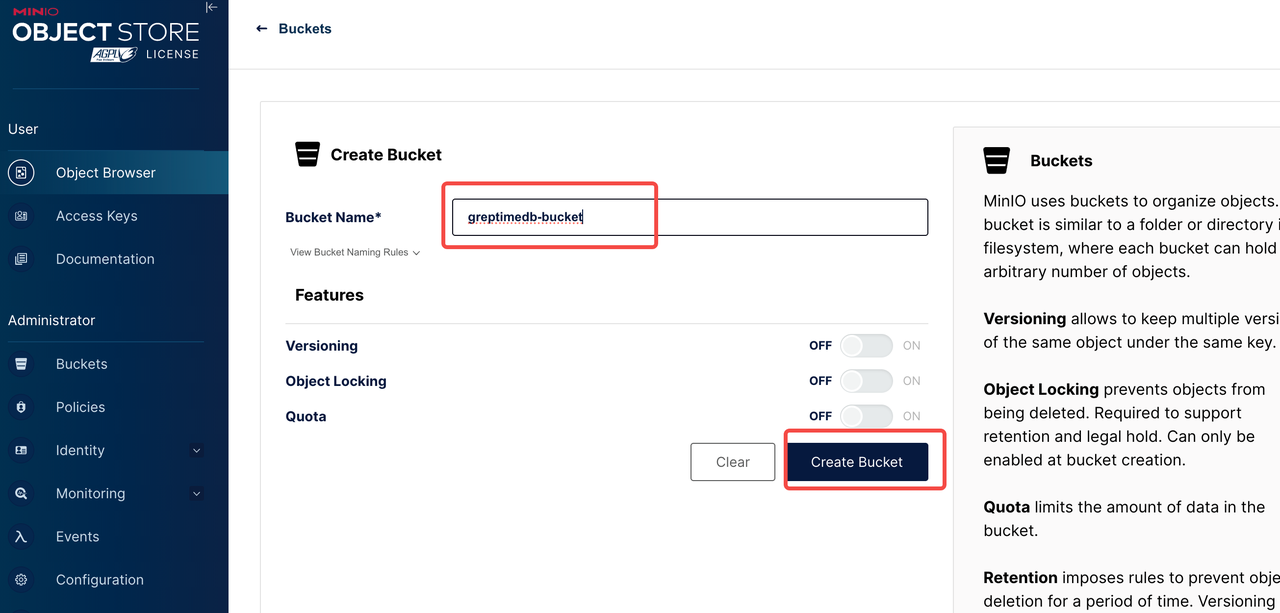
登录 MinIO 控制台后,按照以下步骤创建 Bucket:
- 点击左侧菜单栏的 "Buckets"
- 点击 "Create Bucket" 按钮
- 输入 Bucket 名称,例如:
greptimedb-bucket - 点击 "Create Bucket" 确认创建

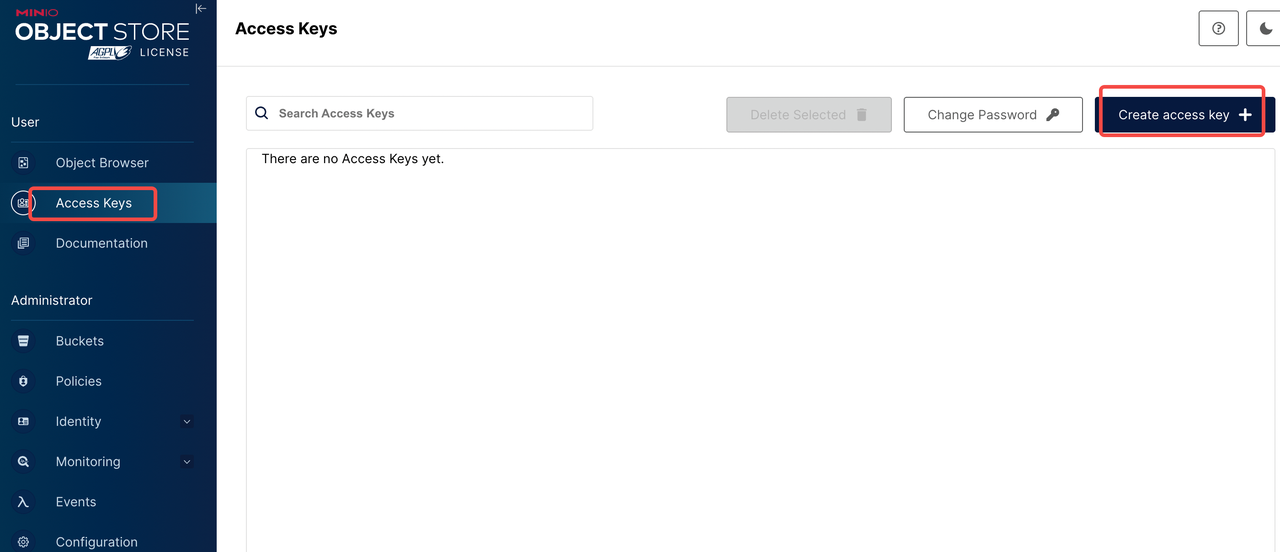
生成 Access Key
- 点击左侧菜单栏的 "Access Keys"
- 点击 "Create Access Key" 按钮
- 可选:设置权限策略
- 点击 "Create" 生成 Access Key 和 Secret Key
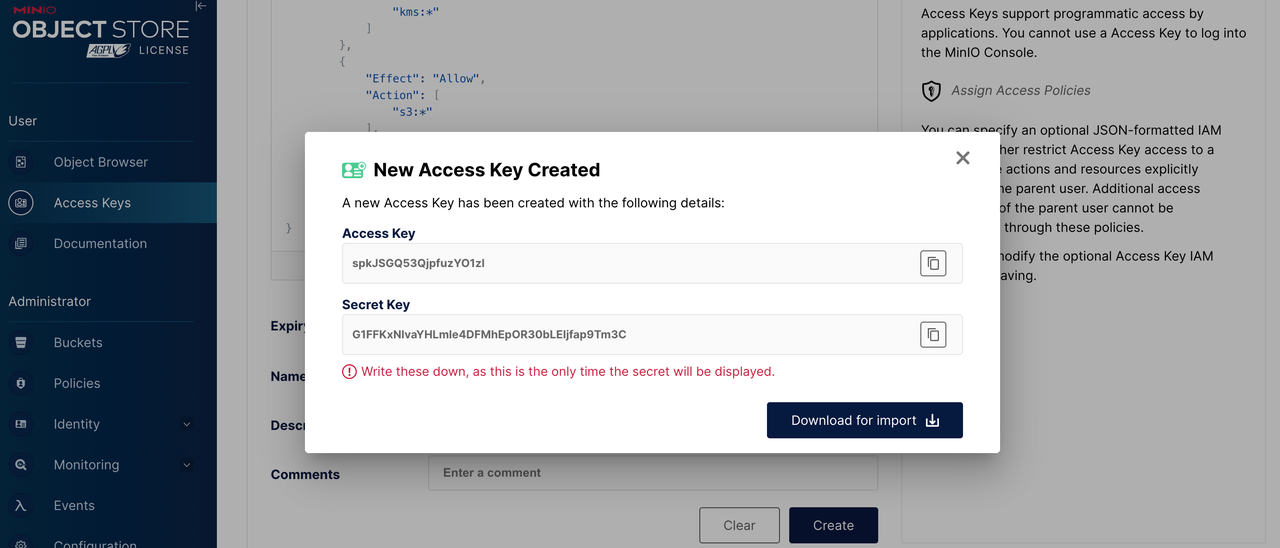
注意
⚠️ 重要:请妥善保存以下信息,在部署 GreptimeDB 时会用到。
- Bucket 名称:greptimedb-bucket
- Region:ap-southeast-1
- MinIO Endpoint:
http://minio.minio:9000 - Access Key:创建时生成的 Access Key
- Secret Key:创建时生成的 Secret Key
配置 GreptimeDB 使用 MinIO
在部署 GreptimeDB 集群时,可以通过以下配置使用 MinIO 作为后端存储:
objectStorage:
  credentials:
    accessKeyId: "<your-access-key>"
    secretAccessKey: "<your-secret-key>"
  s3:
    bucket: "greptimedb-bucket"
    region: "ap-southeast-1"
    root: "greptimedb-data"
    endpoint: "http://minio.minio:9000"
监控
- 安装 Prometheus Operator (例如: kube-prometheus-stack)。
- 安装 podmonitor CRD。
要监控 MinIO 集群,你需要提前部署好监控系统(如 Prometheus 和 Grafana)。然后在 minio-values.yaml 中增加以下内容,并重新执行更新 MinIO 配置:
metrics:
  enabled: true
  serviceMonitor:
    enabled: true
    namespace: minio
    labels:
      release: kube-prometheus-stack
    interval: 30s
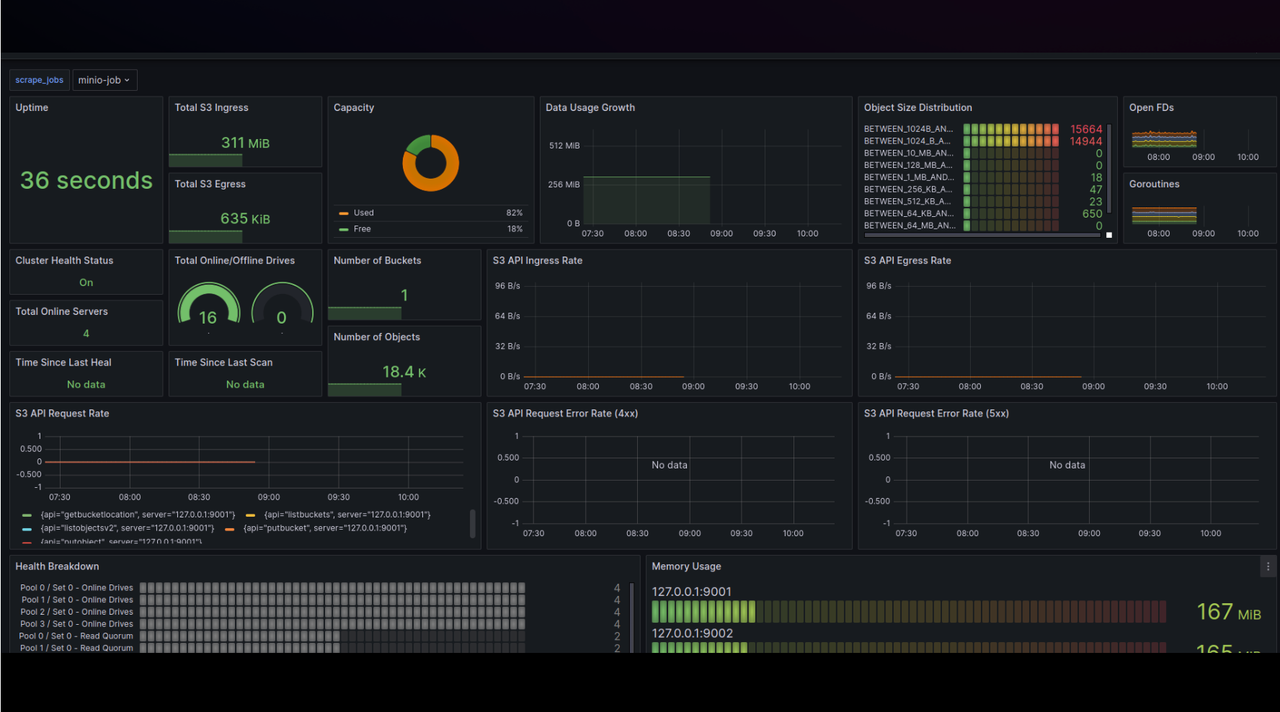
Grafana dashboard
使用 MinIO Dashboard (ID: 13502) 来监控 MinIO 的指标。
- 登录你的 Grafana。
- 导航至 Dashboards -> New -> Import。
- 输入 Dashboard ID: 13502, 选择数据源并加载图表。
卸载 MinIO 集群
使用以下命令卸载 MinIO 集群:
helm -n minio uninstall minio
删除 PVCs
删除 PVCs 操作将会删除 MinIO 集群的持久化数据。请确保在继续操作之前已经备份了数据。
kubectl -n minio delete pvc -l app.kubernetes.io/instance=minio